Understanding Manual Camera Settings
Manual camera settings provide precise control over your camera’s functions, allowing you to adjust aperture, shutter speed, and ISO to achieve desired effects. Mastering these elements gives you the creative freedom to produce professional-looking images with ease.
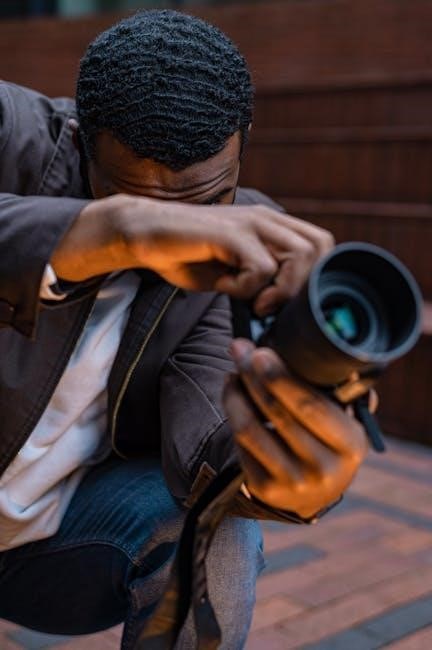
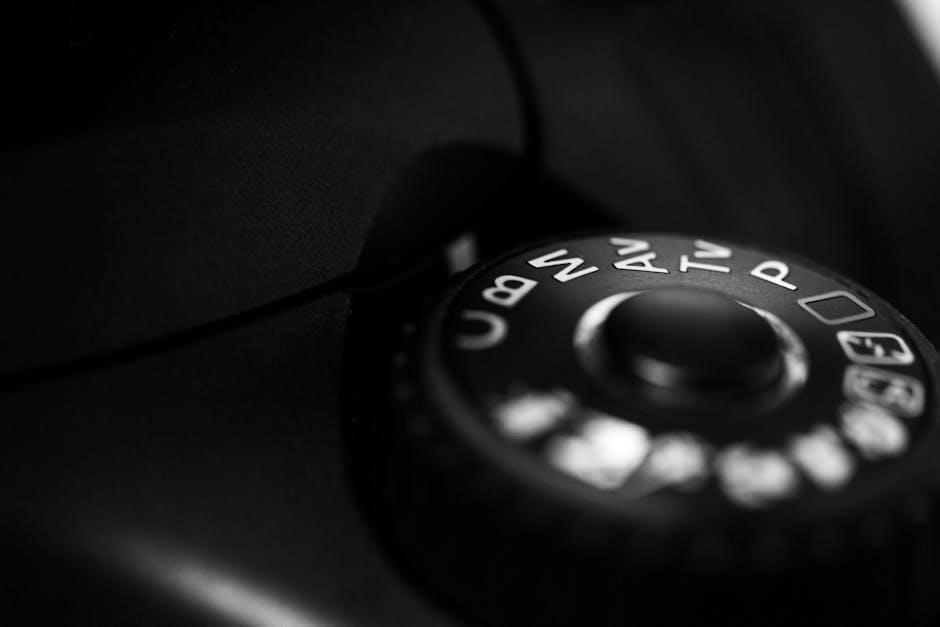
Manual mode is a camera setting that grants photographers full control over exposure by adjusting aperture, shutter speed, and ISO. Unlike automatic modes, it allows for precise customization to capture the desired artistic vision. Professional photographers often use manual mode to ensure their creative intent is accurately translated into images. While it may seem intimidating at first, mastering manual mode can enhance your photography skills significantly. This mode is especially useful in challenging lighting conditions where automatic settings may fail to produce optimal results. By understanding how to manually adjust camera settings, you can achieve greater control over the final output, making your photos more impactful and professional. Manual mode requires practice, but it unlocks a world of creative possibilities, enabling you to experiment with various techniques and styles. Whether you’re a beginner or an experienced photographer, learning manual mode is a crucial step in taking your photography to the next level.
Why Use Manual Mode?
Manual mode offers unparalleled creative control over your photography, allowing you to tailor every aspect of an image to your vision. Unlike automatic modes, manual mode lets you override default settings, ensuring your photos reflect your artistic intent. This is particularly useful in challenging lighting conditions, where automatic modes may fail to capture the desired effect. By manually adjusting aperture, shutter speed, and ISO, you can achieve precise control over exposure, depth of field, and motion blur. Professional photographers rely on manual mode to produce consistent and high-quality results. It also enables you to experiment with unique effects, such as intentional blur or extreme depth of field, which are impossible to achieve with auto settings. Learning manual mode helps you understand the fundamentals of photography, making you a more versatile and skilled photographer. While it requires practice, the creative freedom and precision it offers make it an essential tool for capturing stunning images in any situation.
Mastering the Exposure Triangle
The exposure triangle—aperture, shutter speed, and ISO—forms the foundation of manual camera settings. Balancing these elements ensures proper exposure, creative control, and desired visual effects in your photographs. Understanding their interplay is key to mastering manual photography and achieving professional results.
Aperture: Understanding F-Stops and Depth of Field
Aperture, measured in f-stops, is a fundamental aspect of manual camera settings. It refers to the size of the lens opening, controlling how much light enters the camera. Lower f-stop values (e.g., f/2.8) create a larger aperture, allowing more light and a shallower depth of field, which blurs the background and emphasizes the subject. Higher f-stops (e.g., f/16) result in a smaller aperture, less light, and a deeper depth of field, keeping more of the image in focus. This makes aperture crucial for achieving the desired aesthetic, whether capturing portraits with a blurred background or landscapes with sharp details throughout. Understanding f-stops and their impact on depth of field allows photographers to make creative decisions, enhancing their ability to tell stories through images. Proper use of aperture, combined with other elements of the exposure triangle, ensures well-balanced and visually compelling photographs.
Shutter Speed: Controlling Motion and Blur
Shutter speed is a critical component of manual camera settings, determining how long the camera’s shutter remains open. A faster shutter speed, such as 1/1000th of a second, freezes motion and captures sharp images, ideal for action or bright lighting. Slower speeds, like 1 second, create intentional blur, adding artistic effects to moving subjects. This control allows photographers to convey motion dynamically or ensure clarity in static scenes. For instance, a fast shutter speed is perfect for sports photography, while a slow speed can create a silky effect in waterfalls. Balancing shutter speed with aperture and ISO ensures proper exposure while achieving the desired visual impact. Understanding shutter speed’s role in freezing or blurring motion empowers photographers to experiment creatively, making it an essential skill for mastering manual camera settings. Proper use enhances image quality and artistic expression, whether capturing sharp details or artistic motion effects. This versatility makes shutter speed a fundamental tool in a photographer’s arsenal.
ISO: Managing Light Sensitivity and Noise
ISO is a fundamental aspect of manual camera settings, controlling the camera sensor’s sensitivity to light. Lower ISO values, such as ISO 100, are ideal for bright lighting conditions, producing images with minimal noise. Higher ISOs, like ISO 6400, are used in low-light situations to brighten images but may introduce grain or digital noise. Photographers must balance ISO with aperture and shutter speed to achieve optimal results. In daylight, keeping ISO low ensures sharp, noise-free images; Conversely, in dim environments, increasing ISO helps capture sufficient light, though it may compromise image clarity. Understanding how ISO affects sensitivity and noise is crucial for capturing high-quality photos in various lighting conditions. This control allows photographers to adapt to different scenarios, ensuring their images are well-exposed and detailed. Proper ISO management enhances overall image quality and is essential for mastering manual camera settings effectively. By adjusting ISO thoughtfully, photographers can achieve their desired aesthetic while maintaining technical excellence. This makes ISO a vital tool in their creative process.
Advanced Manual Camera Techniques
Advanced manual camera techniques refine your control over imaging, enabling precise adjustments. Explore white balance for color accuracy, manual focus for sharpness, and long exposures for artistic effects, enhancing your creative and technical photography skills effectively always.
White Balance: Adjusting Color Temperature
White balance is a crucial aspect of manual camera settings, allowing photographers to adjust color temperature and achieve accurate tones. It ensures that whites appear white under different lighting conditions, whether natural or artificial. By setting the correct white balance, you can eliminate unwanted color casts and enhance the overall realism of your images. Most cameras offer preset options like Daylight, Tungsten, and Fluorescent, while also providing a custom setting for precise control. Adjusting white balance in manual mode gives you the flexibility to match the lighting of your scene, ensuring colors are rendered faithfully. This feature is particularly useful in mixed lighting environments or when aiming for a specific artistic effect. Properly setting white balance not only improves image quality but also reduces the need for extensive post-processing, saving time and effort. With practice, mastering white balance becomes an intuitive part of your photography workflow, allowing you to focus on composition and creativity. It is a powerful tool that, when used correctly, elevates your photography to new heights by capturing the true essence of the scene.
Manual Focus: Precision in Composition
Manual focus offers photographers precise control over their images, allowing for exact composition and sharpness. Unlike autofocus, manual focus lets you deliberately choose the focal point, ensuring your subject stands out. This is especially useful in macro photography, portraits, or when shooting through objects where autofocus might falter. By adjusting the focus ring, you can achieve a shallow depth of field, blurring backgrounds while keeping your subject crisp. Manual focus also enables creative techniques like selective focus, where only a specific part of the image is sharp. Many cameras provide tools like focus peaking or split-screen zoom to assist with manual focusing, making it easier to achieve pinpoint accuracy. Mastering manual focus enhances your ability to craft visually compelling images, giving you full creative control over the narrative of your photography. It is a skill that, when perfected, elevates your work and ensures your vision is realized precisely as intended.

Practical Application of Manual Settings
Manual settings empower photographers to adapt to diverse lighting conditions and genres, ensuring creative control and professional results. By mastering aperture, shutter speed, and ISO, you can capture stunning images tailored to your artistic vision and technical requirements.
Using Manual Mode in Different Lighting Conditions
Mastering manual mode in various lighting conditions is crucial for capturing stunning images. In daylight, use faster shutter speeds (1/1000th of a second or higher) and lower ISOs (100-400) to avoid overexposure. Pair this with a mid-to-high aperture (f/5.6-f/11) for sharpness.
In low-light environments, slower shutter speeds (1/60th of a second or lower) and higher ISOs (800-6400) are essential. Wider apertures (f/2.8-f/4) allow more light, but beware of shallow depth of field. Always stabilize the camera or use a tripod to prevent blur.
Indoor settings often require a balance of artificial and natural light. Adjust white balance to match the light source (e.g., fluorescent or tungsten). Use moderate ISOs (400-1600) and apertures (f/4-f/8) for a balanced exposure, and set shutter speed accordingly to avoid underexposure.
For nighttime photography, prioritize long exposures (10-30 seconds) with low ISOs (100-800) and wide apertures (f/2.8-f/4) to capture starry skies or cityscapes. Manual focus ensures sharpness, and a tripod is indispensable to prevent motion blur.
By adapting manual settings to lighting conditions, you can achieve professional results and creative control in any scenario.
Optimizing Settings for Specific Genres of Photography
Different photography genres require tailored manual settings to achieve the desired aesthetic. For portrait photography, use a wide aperture (f/1.8-f/2.8) to blur backgrounds and isolate subjects, paired with a moderate ISO (100-400) and shutter speed (1/125s-1/250s) to ensure sharpness and natural light capture.
Landscape photography often benefits from a narrow aperture (f/8-f/16) to maximize depth of field, ensuring both foreground and background are sharp. Use low ISOs (100-400) and slower shutter speeds (1/30s-10s) to enhance details and capture movement in skies or water.
In sports and action photography, prioritize fast shutter speeds (1/1000th of a second or faster) to freeze motion, with moderate to high ISOs (400-6400) to maintain exposure. A wide aperture (f/2.8-f/4) helps separate subjects from backgrounds.
For street photography, adaptability is key. Use aperture priority or manual mode with a mid-range aperture (f/4-f/5.6) and ISO (400-1600) to quickly respond to changing lighting conditions while maintaining sharpness and minimal noise.
By fine-tuning manual settings to the specific demands of each genre, photographers can enhance creativity and achieve standout results tailored to their artistic vision.